I have it on good authority that I must have air capable of being directed to the feet and screen (bosses requirement!). Also heated seats! Still, this is about the air box.
I could have gone down the normal route of using the fibre glass cover etc but wanted to do something a little different.
I spent some time working out what size I wanted etc and then came up with the design (normal belt and braces stuff) that I was happy with.
As is normal for me I sat down behind my CAD screen and had a bit of a dabble.
 |
| Outside of new heater box |
 |
| Inside of new heater box |
 |
| Laser layout with all parts unfolded |
Now for the next phase, manufacture. I have chosen to have all the parts laser cut in 1.5mm thick aluminium sheet by a local company in Coventry. They have done a great job and it only took a few days to complete.
 |
| The parts as they arived |
Obviously I have to get a number of other parts but most of those are sourced from eBay. Now to the making of it.
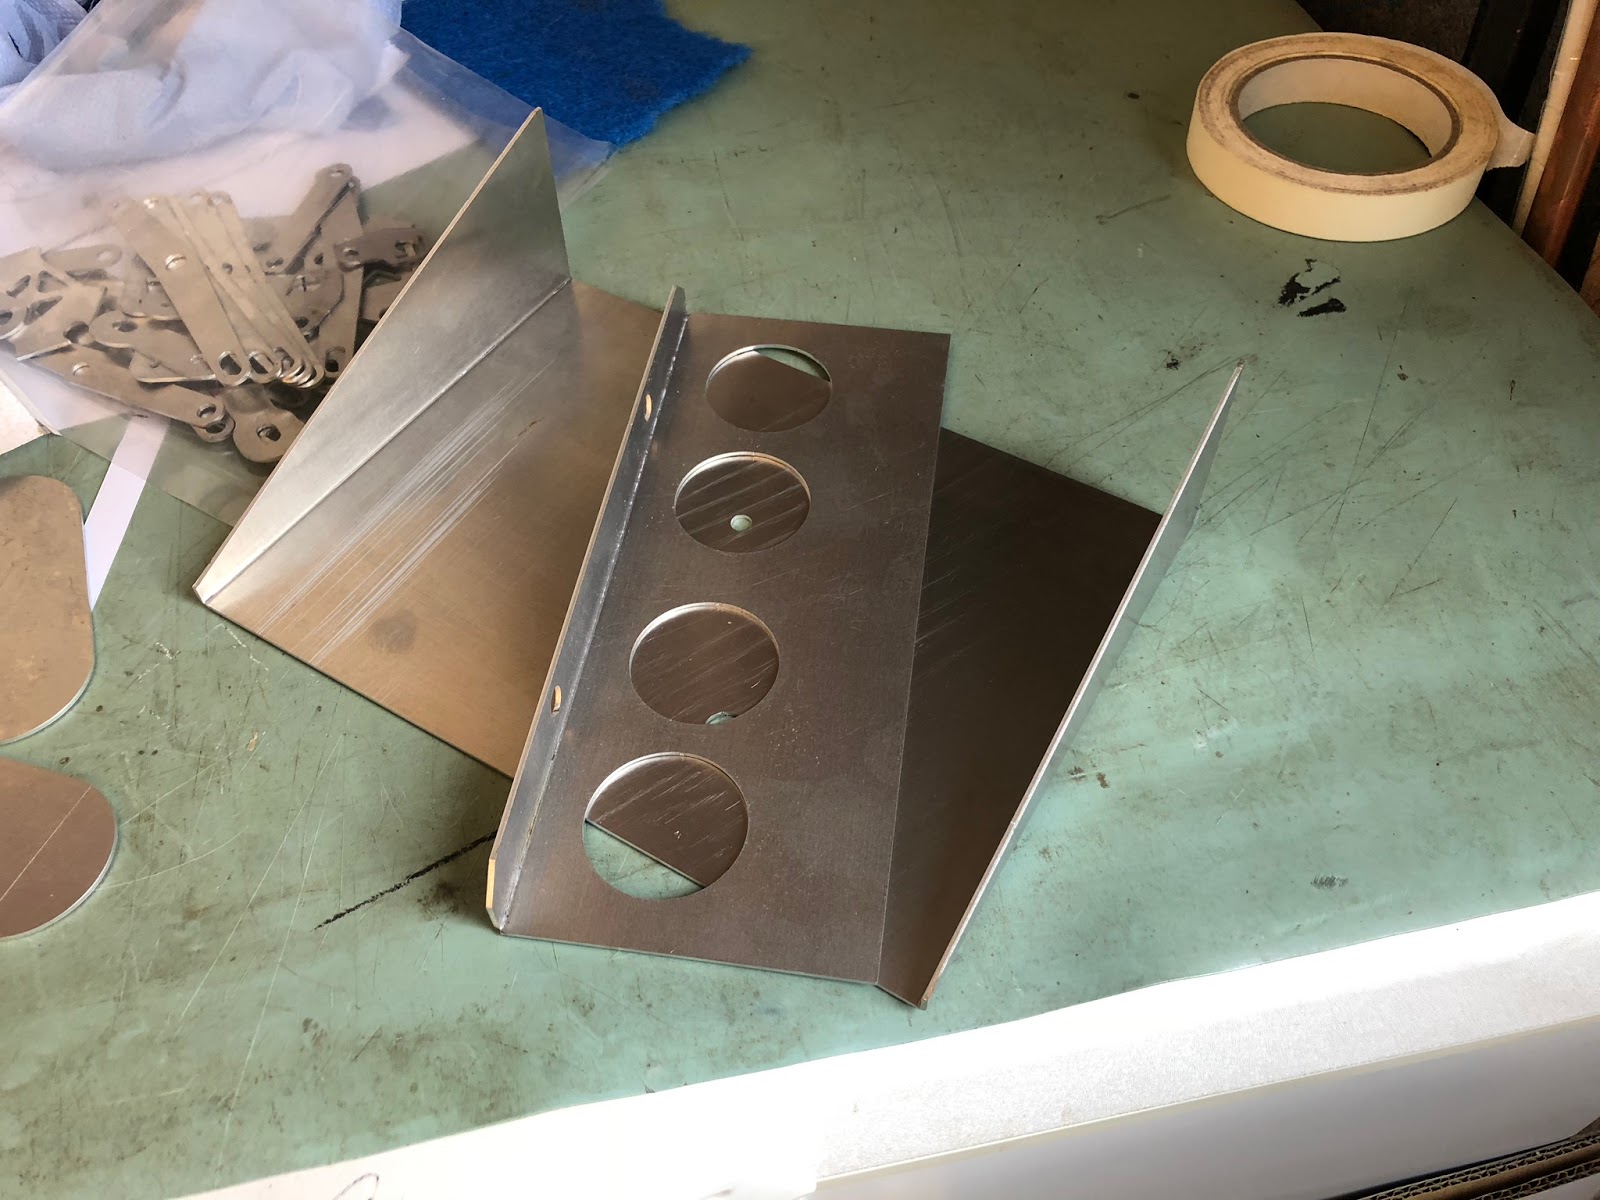
I have a small sheet metal folder/shear which has proved invaluable so images below of progress.
 |
| First parts folded. Make sure you fold them the right way else the part will be reversed! |
 |
| Riveted and sealed together |
 |
| Bearing bosses added for the variable baffle plates |
 |
| Hose nozzles (from Screwfix) |
 |
| Nozzles bonded in |
 |
| The start of the internal mechanism |
 |
| Bit more progress. Shame its backwards! Did I mention that you have to bend it the right way round |
 |
| Parts of the deflectors |
 |
| Both finally complete |
I'm happy with progress and it looks to work OK too. Still got a bit to do but I'll finish that a little later.


No comments:
Post a Comment