Tuesday, 4 September 2018

Radiator and Cooling - Pt 1

I've now started to fit the radiator and fan. Both of these have come from AK. I read on one of the posts recently that you can get rubber grommets from Rimmer Brothers (Part Number 500447) to sit the radiator on and can now confirm that these are really great and fit perfectly.

Shiny new rad and brackets
After minor adjustment brackets all fitted
Rubber grommets
Radiator and brackets installed
Done
Now onto the fan. The fan comes with a number of different options for fitting by either clipping to the radiator or by bolting top the chassis. I've opted to bolt to the chassis as this means that I don't  to risk damaging the core over time and also I can remove either the fan or the radiator independently should the need arise (hopefully not for quite some time).

First I positioned the fan where I wanted it to go although it's very close to the anti-roll bar and marked very carefully the 4 holes that will fasten it to the radiator support frames. These were then drilled and tapped and the fan offered up and bolted in position.

Fan bolted in place
However, two immediate problems. The first one is that the plastic grill of the fan is broken. Looks to have been done in transit at some point and that was very quickly sorted by AK who are putting a replacement in the post immediately. As normal fantastic help and service, nothing ever too much. The nest problem meant that I have to cut a scallop from the lower support frame as the rotation fan could touch which I really don't want to happen as this will cause problems. So. Off with the fan after marking what needs to be remove ant out with the die grinder to remove the metal.

Scallop cut out and smoothed
All painted
I'll have to wait now for the replacement fan before I finally fit the fan.

Next job is fitting the lovely stainless header tank. This is really well made and will look good in the engine bay.

Shiny new stainless header tank

Chassis rail drilled and tapped
Fitted

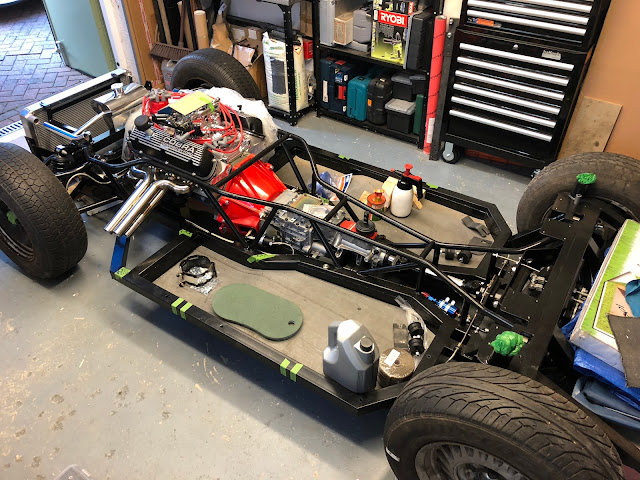
Just thought i'd add a picture of where the rolling chassis as of now.

Propshaft - Pt 2

Well, now had the opportunity to complete fitting the propshaft. This was one of the easier tasks and went without a hitch, the only fiddly thing was getting the bolts in place as it is very snug around the diff flange. I had to cut down the length of the bolts as the only ones I could get were a little too long and the ends were getting too close to the diff seal.


Just need to check if I need to add some lithium based grease to the uj's.